traffic.cx guide
Track a UTM Campaign Through to Revenue
A tested walkthrough: tag a campaign link, carry the visit into checkout and see which campaign earned the payment, plus what to check when revenue shows as Unattributed.
Updated 15 October 2026
Campaign tags tell you which link brought a visitor. Revenue attribution tells you which of those visitors paid. This guide connects the two with one tagged link, one visit, one checkout and one payment, then shows the report and what to check when a payment arrives without its campaign.
We ran every step below on a traffic.cx test site on 15 October 2026, with the real tracker in a browser and a payment sent through the Payments API. The amounts are test payments, not customer results.
What you need
- The traffic.cx tracker on your site. See install and verify your first visit.
- A way to send payments: a connected provider (Stripe, Dodo Payments, Lemon Squeezy or Polar) or the Payments API.
- A campaign link you control, such as a newsletter, a social post or an ad.
1. Tag the link
Add three tags to the link you share:
text
https://example.com/pricing?utm_source=newsletter&utm_medium=email&utm_campaign=october_newsletterutm_sourcenames where the link was placed:newsletter,x,producthunt. traffic.cx uses it as the visit's source, ahead of the referrer.utm_mediumnames the kind of traffic. It decides the channel:emailgroups the visit under Email, and mediums such ascpc,ppcorpaid_socialgroup it under a paid channel.utm_campaignnames the campaign. This is the row you will look for in the revenue report.
utm_content and utm_term are optional and are recorded too, for telling apart two links in the same campaign.
Tag values are stored as you write them, so Newsletter and newsletter become two campaigns. Pick lowercase names with underscores and keep them in one place. Never put an email address, name or customer ID in a tag: campaign links get shared, logged and forwarded.
2. Check that the visit arrived
Open the link in a normal browser window, then open Overview in traffic.cx for today. The sources panel lists the visit's source, and its campaign tab lists october_newsletter. The tags belong to the visit's first page, so the visit should show:
| Field | In our test |
|---|---|
| Source | newsletter |
| Channel | |
| Campaign | october_newsletter |
| Landing page | /pricing |
If the visit is missing, check that the tracker loads on that page and that no ad blocker or excluded path is stopping it. The getting started checks cover this.
3. Carry the visit into checkout
A payment provider doesn't know which visit started the checkout. Give it the visit's pageview ID when the visitor starts checkout, not later on a thank-you page:
js
const tcx = {
  tcx_pvid: window.trafficcx?.pageviewId?.() ?? '',
  tcx_vid: window.trafficcx?.visitorId?.() ?? '', // cookie mode only
};
// Send tcx to your server with the checkout request.
Your server puts these values in the provider's checkout metadata, or saves them with the order to send through the Payments API later. Each provider guide shows where they go.
In the default cookieless mode, the pageview ID links a purchase made during the same visit. If people often leave and come back days later to buy, cookie mode's visitor ID also links their earlier visits. See cookieless mode versus cookie mode.
4. Record the payment
With a connected provider, the payment arrives on its own. With the Payments API, your server sends it once the payment has succeeded:
bash
curl -X POST https://api.traffic.cx/v1/payments \
  -H "Authorization: Bearer YOUR_API_KEY" \
  -H "Content-Type: application/json" \
  -d '{
    "site": "tcx_yoursite",
    "transaction_id": "order_1001",
    "amount": 49,
    "currency": "USD",
    "pageview_id": "THE_SAVED_TCX_PVID"
  }'
In our test, the answer confirmed the link straight away:
json
{
  "ok": true,
  "transaction_id": "guide_order_…_1",
  "attributed": true,
  "amount_reporting": "49.0000",
  "currency_reporting": "USD",
  "channel": "Email",
  "source": "newsletter"
}
To see what a broken handoff looks like, we also sent a $29 payment without a pageview ID. It was recorded with "attributed": false.
5. Read the report
Open Revenue and choose Campaigns in the attribution table. Each campaign shows its revenue, paying customers, visitors, revenue per visitor (RPV), conversion rate (CR) and lifetime value (LTV). Recent payments below list each payment with its source and landing page.
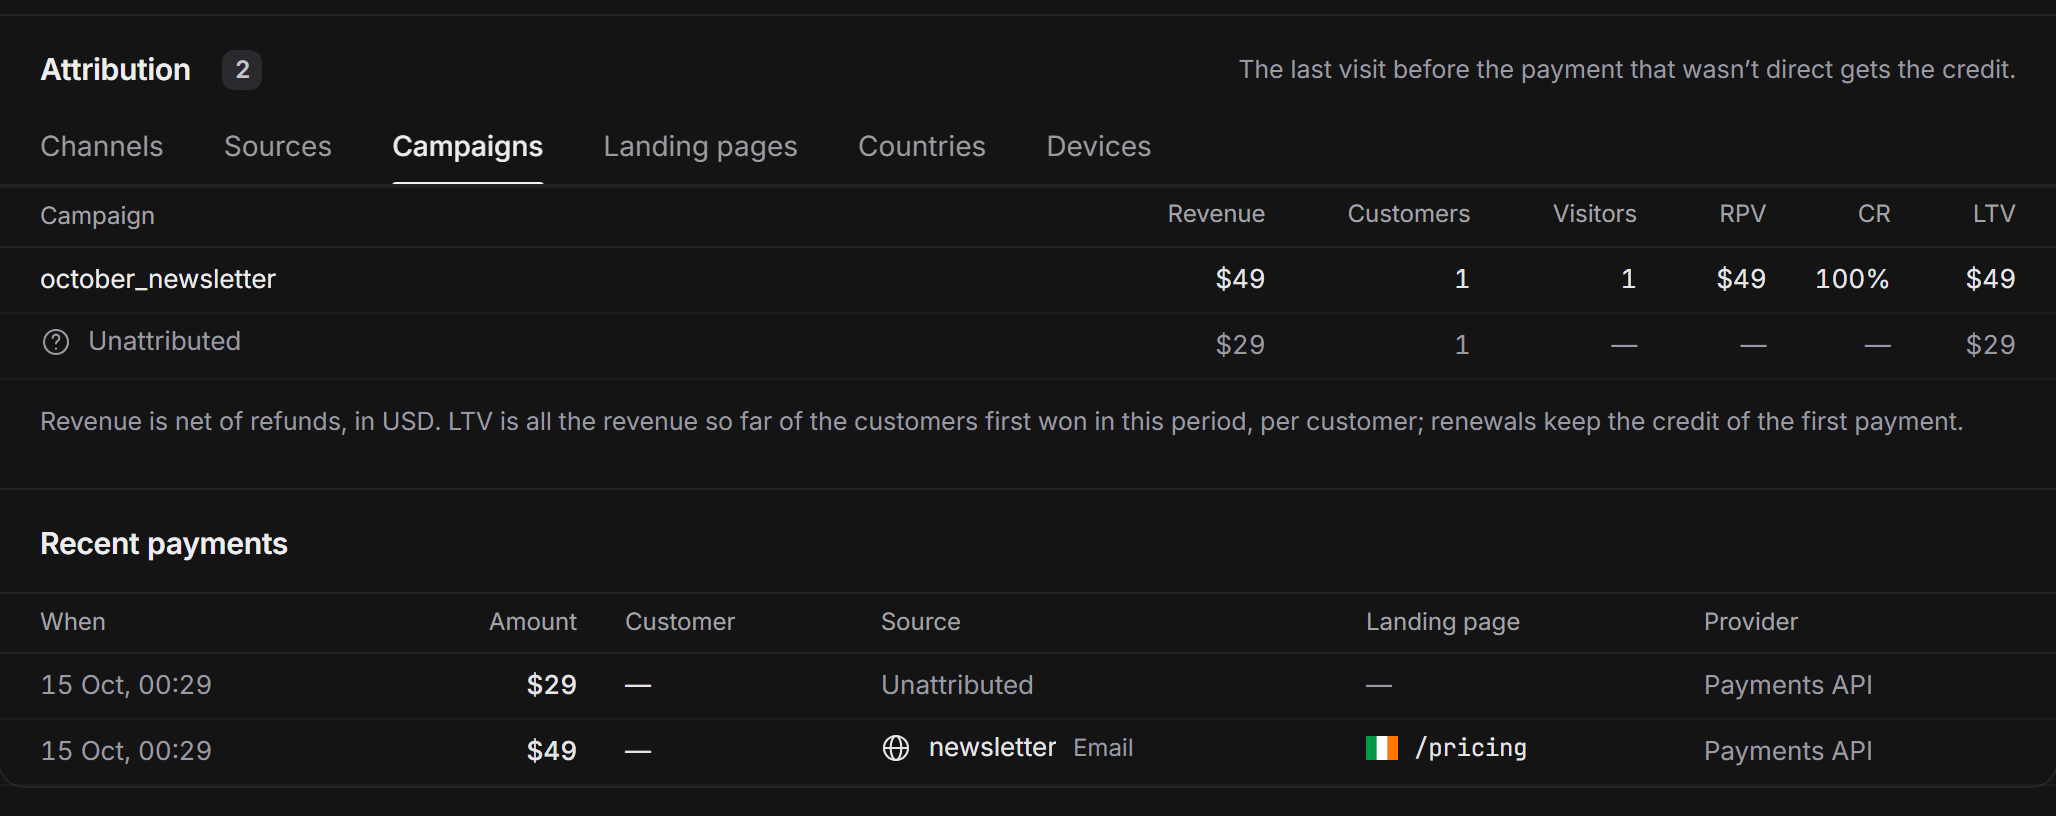
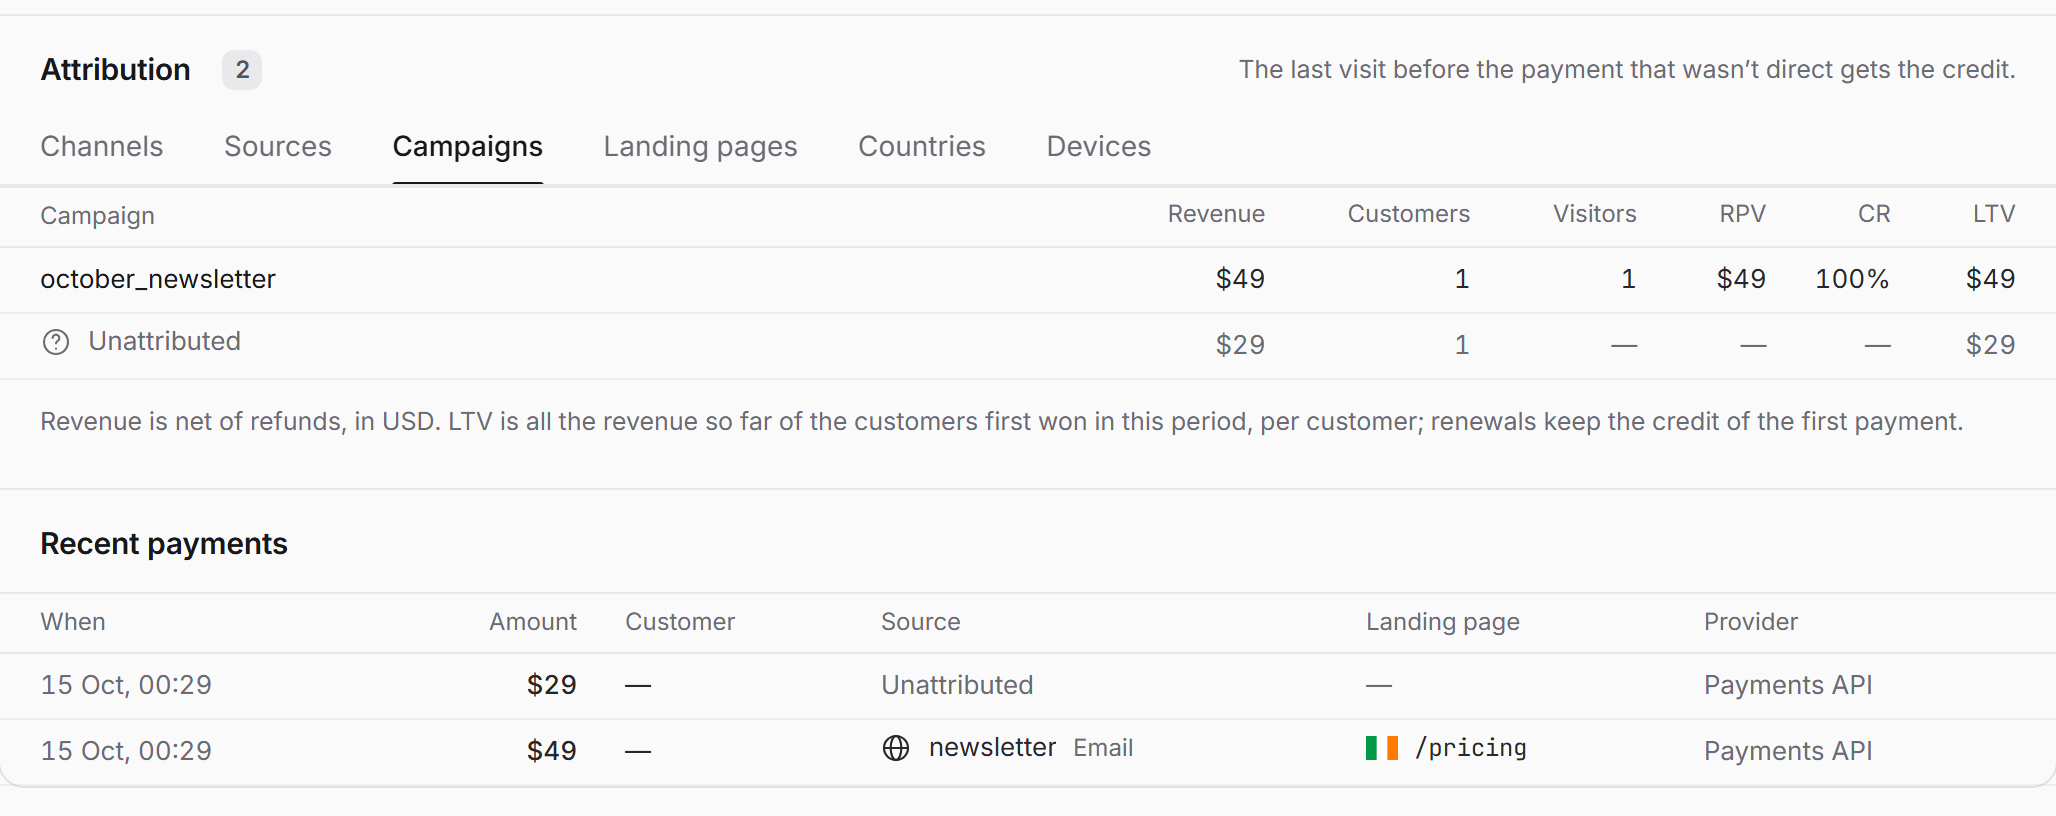
The $49 payment is credited to october_newsletter, with newsletter and Email as its source and channel. The $29 payment stays in the total as Unattributed instead of being given a source we can't prove.
The table uses last non-direct attribution by default: the most recent visit before the payment that wasn't direct gets the credit, so a visitor who comes back by typing your address doesn't erase the newsletter. Switch to First touch to credit the earliest visit instead. Attribution models explains both.
What we expected and what we saw
| Step | Expected | Observed on 15 October 2026 |
|---|---|---|
| Visit from the tagged link | Source newsletter, channel Email, campaign october_newsletter | All three recorded, landing page /pricing |
| $49 payment with the pageview ID | Credited to october_newsletter | attributed: true, source newsletter, channel Email |
| $29 payment without an ID | Kept in revenue as Unattributed | attributed: false, listed as Unattributed |
| Revenue page, Campaigns | october_newsletter $49, Unattributed $29 | As expected; total $78 |
When revenue shows as Unattributed
Work through these in order. The first one is the most common.
- No ID reached the payment. Open the payment in your provider's dashboard and look for
tcx_pvidin its metadata. For the Payments API, log the body you send. An empty value usually means the checkout code ran before the tracker loaded, or didn't run at all. - The visit wasn't recorded. An ad blocker, an excluded path or a page without the tracker means there's no visit for the ID to point to. Check that the visit appears in Overview while you test.
- The ID came from a different visit. An ID read on a thank-you page can belong to a later visit than the one that started checkout, for example when the buyer finishes paying on another device. Save the ID when checkout starts and send that one.
- The buyer came back later. In cookieless mode, a purchase on a later day or another device has no link to the campaign visit. Cookie mode helps with later days on the same browser; nothing links a different device.
- The visit is outside the lookback window. The default is 90 days. You can set 7 to 365 days in Settings → Revenue.
Verify and diagnose attribution covers provider-specific checks.
When the campaign is missing or wrong
- The tags were stripped. Link shorteners, redirects and some email tools can drop the query string. Open the link as a reader would and check the address bar on the page that loads.
- The values don't match.
October_Newsletterandoctober_newsletterare separate rows. Fix the link and use one spelling from then on. - The visit was credited to something else. Under last non-direct, a later visit from another campaign or search takes the credit. Switch to First touch to see whether your campaign started the journey.
- The medium put it in a different channel. A medium such as
newsletterinstead ofemailwon't group under Email. Use the standard medium names for your channel reports.
Next steps
- Set up your provider: Stripe, Dodo Payments, Lemon Squeezy, Polar or the Payments API.
- Read how revenue attribution works for refunds, renewals and repeat customers.
- See what revenue attribution shows, or compare plans and the free trial.